


 HDR
HDRI must have done something wrong in this process. I couldn't figure out how to save the three shot photo. I am still trying but I got the single shot HDR saved. I think that I just want to buy the program because I really like what it can do.


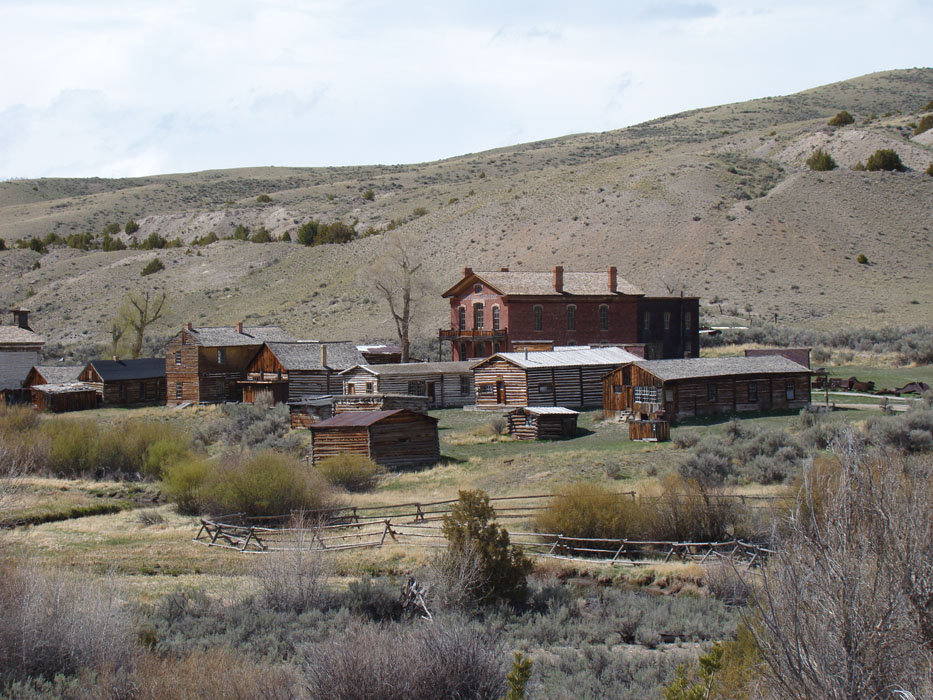
 Haunted House
 No Trespassing
 Action Freeze #1
 Action Freeze #2
 Action Blur/GHOST


 I absolutely loved doing these panoramic pictures! It is amazing that the computer can put together pictures and pixels like puzzle pieces. It was crazy! Anyways, for the first picture I changed the levels and curves as well as brightness and contrast. Then I used a solid color adjustment layer and blended brown around then edge, then burnt the edges also. The second panoramic shot is of my roommate. She ran and did all of these poses and I just took all of the different pictures into photomerge. I had to blend in two of her because the pictures didn't match and weren't added into the photo. Then I played with the curves, levels, and saturation. The third Picture is just the same shot as the first one, but the photos were taken a little closer up. I played with the curves and levels as well as the brightness and contrast. On the bottom right hand photo, there was not enough photo so I took part of the ground from another photo and added it in another layer and blended it into the photo. Then I colorized the photo and made it brown. Then I also burnt the edges on this photo as well. I know that I am in the photo, but I really did take these. I took all of the photos, then I stopped at the spot where I was supposed to stand, then I handed the photo to someone and she took the shot of me. So that is how I am in the shot.


 Kelso
Kelso

 Parrot
 Logan Temple


 I had a ton of fun playing around with this weeks assignment. Like I said in my last post, my brother went to prom this weekend so I had a ton of pictures from this saturday that I just took. So I decided to play around with them. I took the photos and blended them by making masks on the two profile pictures. Then I put a peachy pink color over top of the whole blended photo. The piano and flute are both instruments that I play so I decided to photograph and blend them together. I blended these three photos and with the piano music I did an overlay on top of the other two. I really like the outcome that I had in these photos. I can't wait to experiment more in the future!


